Showing posts with label tutorials. Show all posts

8.17.2016

Hello Adventure *Hip Kit Club*

Hello everyone! 

I posted this layout on the Hip Kit Club blog yesterday sharing a few of my favorite tips and tricks on how to add layers to your pages. Luckily, there are so many great items in the August 2016 Hip Kits to make this process easier and a lot more fun, so let's get started!
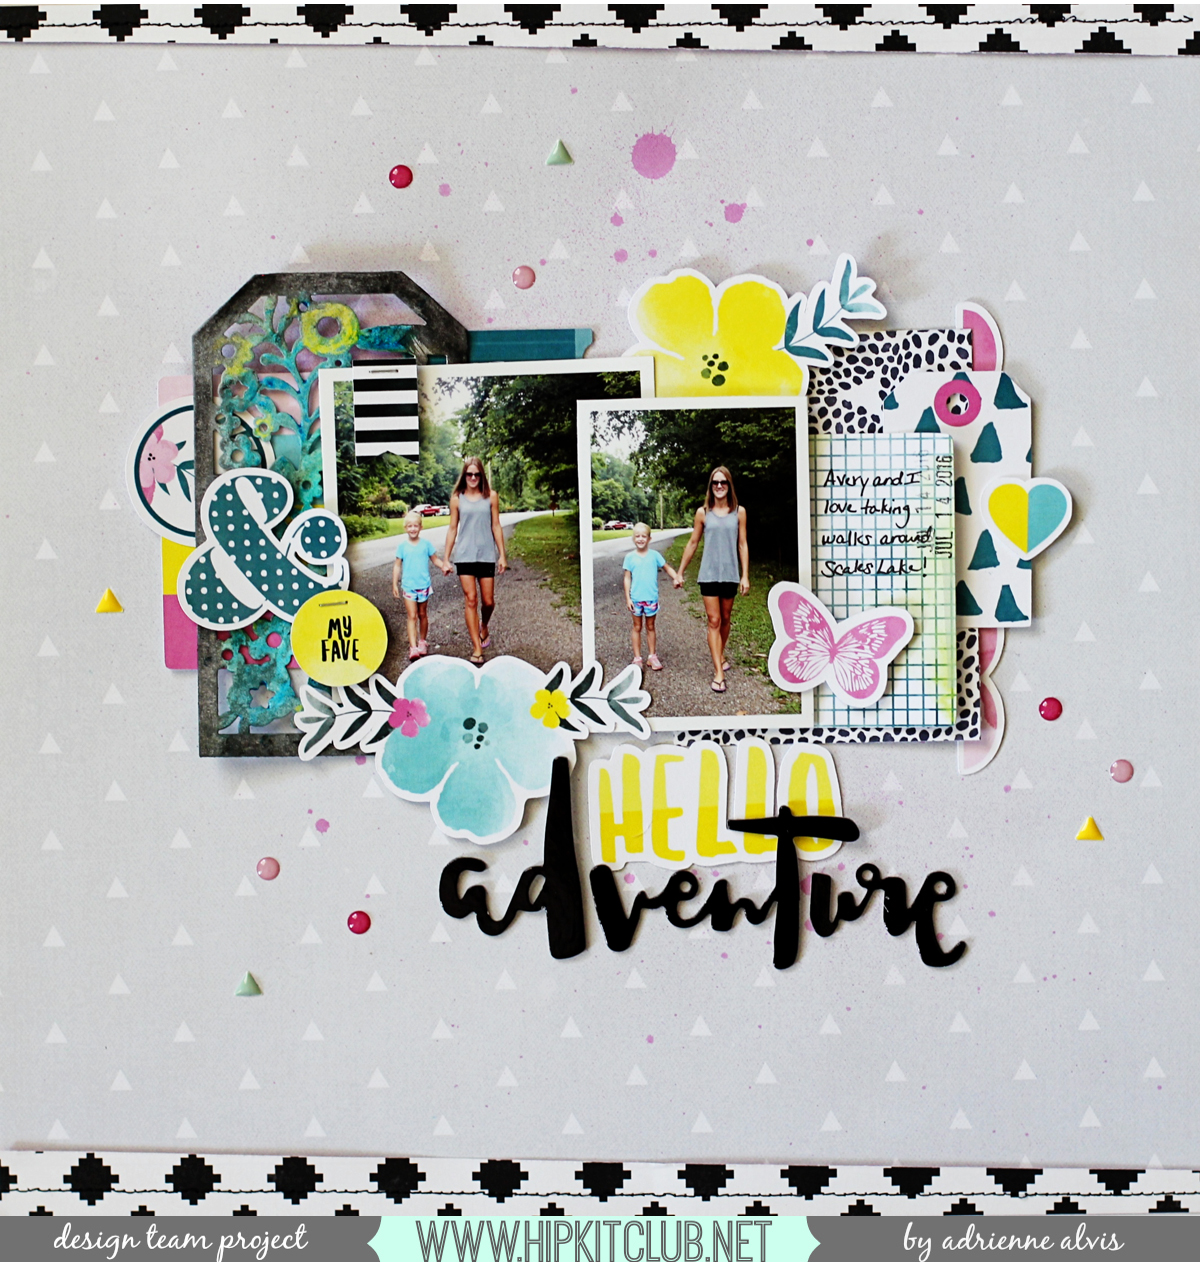
helloadventure1

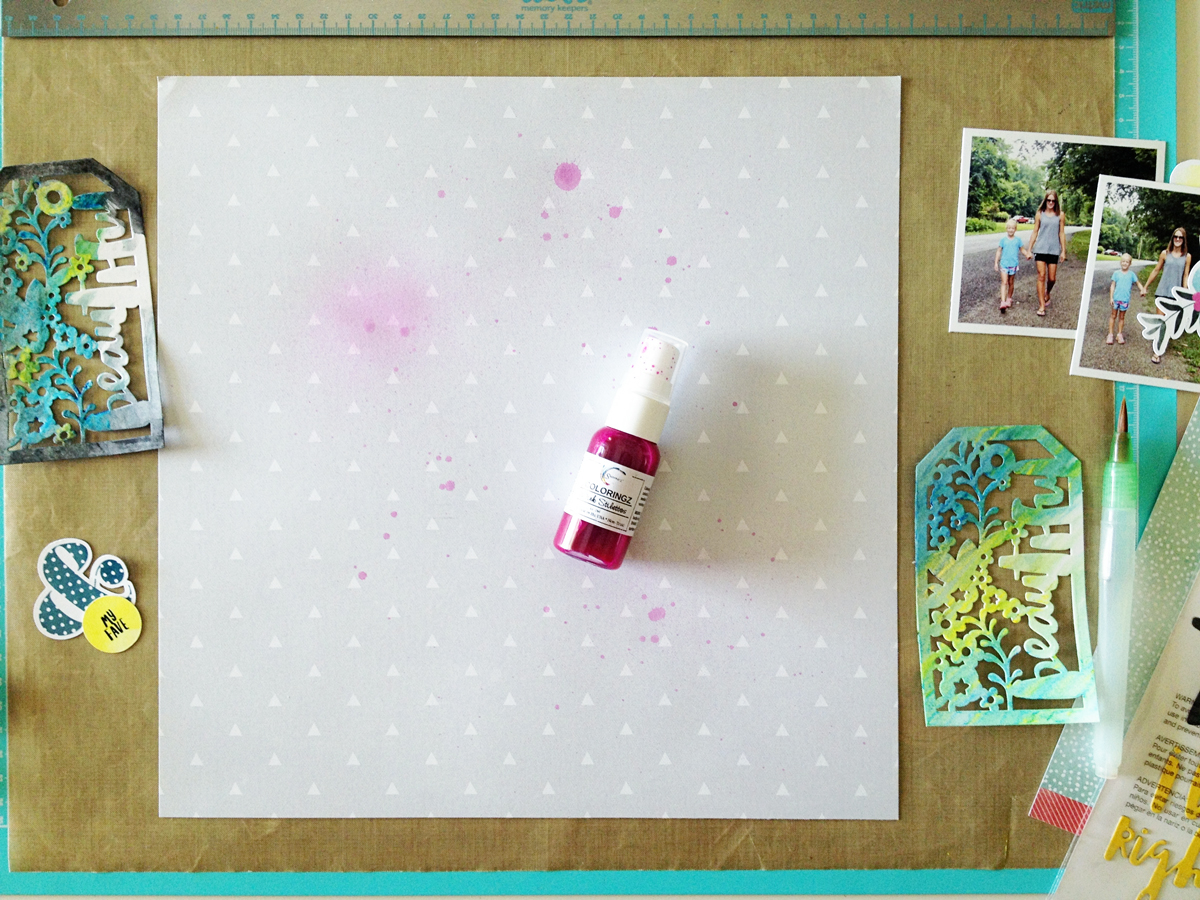
To begin with, you have to think about layers being more than just paper or ephemera pieces added to your page. When I create my pages, I mentally use a layer breakdown of color, patterned paper, photos, embellishments, and miscellaneous items such as machine stitching or paint. For this layout I gathered some of the items that I wanted to use and started by choosing some Coloringz spray ink in Pink Stiletto from Shimmerz (available in the June 2016 Color Kit) and lightly misted some of it onto the patterned paper that I chose to use for my background. So far that's already two layers that I've used from my list above!
helloadventure5

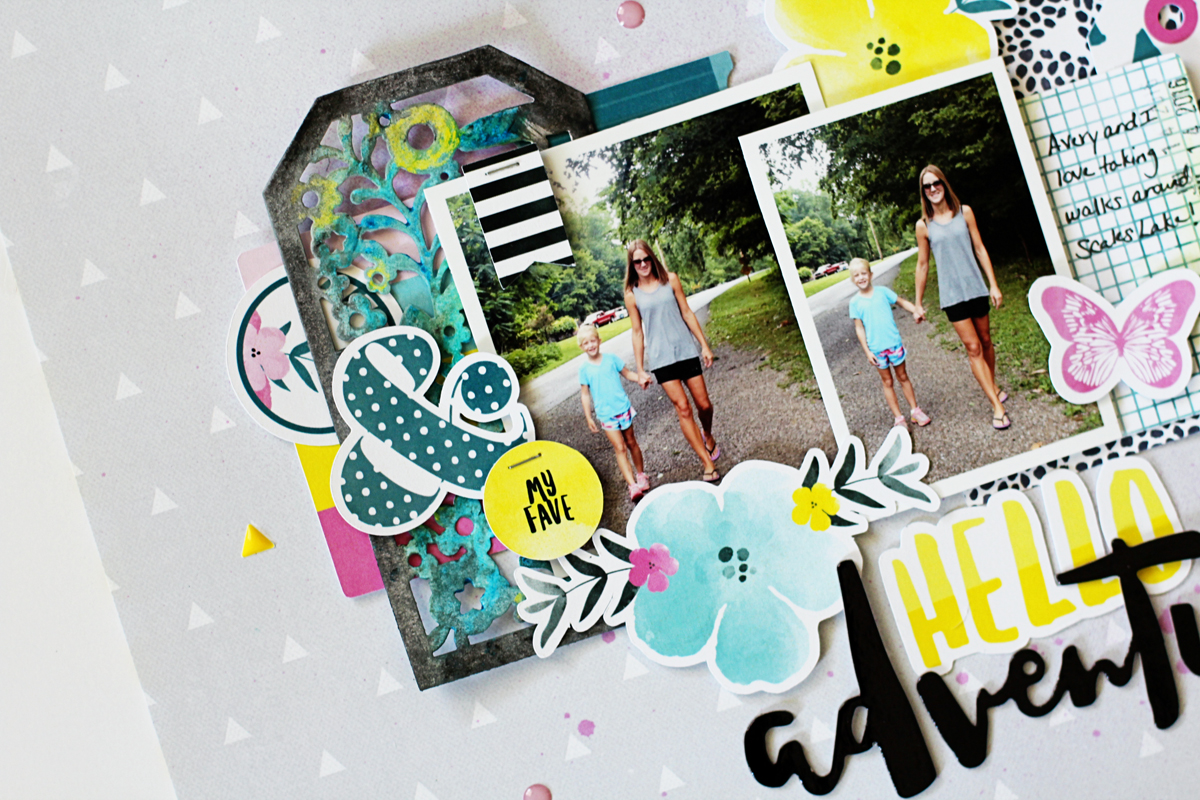
Next, I used some of the Prima Oil Pastels and one of the die cut tags from Amy Tangerine (both available in the August 2016 Color Kit) to create a color coordinating embellishment for my page. I simply rubbed the oil pastels on the tag and then used my water brush to blend the colors. Once the die cut tag was dry, I placed it under the left photo on my page to see if I liked it's placement, which brings me to my next layering tip...don't be afraid to layer photos on top of each other like I did on this page. I printed my photos off at 3x3 and 2x3 so the right one would fit nicely on top of the left one, covering up some of the white space in the photo. I mounted the right photo using some foam tape adhesive which is a great way to add even more dimension to your page and create an extra layer.
helloadventure2

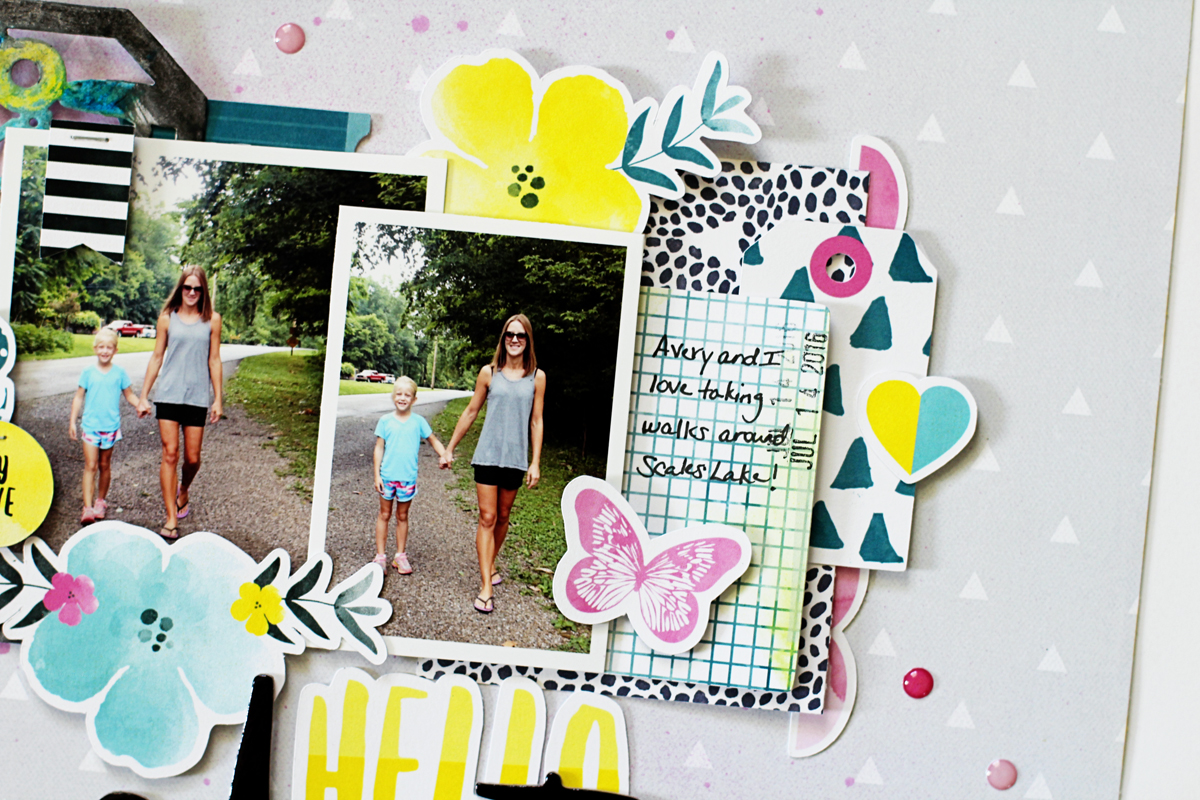
After I committed to my photo placement, I started choosing ephemera pieces from the HKC exclusive ephemera pack, available in the August 2016 Embellishment Kit and started tucking them under, around, and on top of my photos. I also used dimensional foam adhesive for many of these ephemera bits as well because I love how it helps add some extra depth and dimension (just make sure you like the placement of something before you commit to adhering it down!). I also cut a piece of the American Crafts Saturday collection patterned paper from the August 2016 Paper Kit at 3x4 and slipped it under the photo on the right to add even more color contrast to my page and thus creating another layer.
helloadventure3

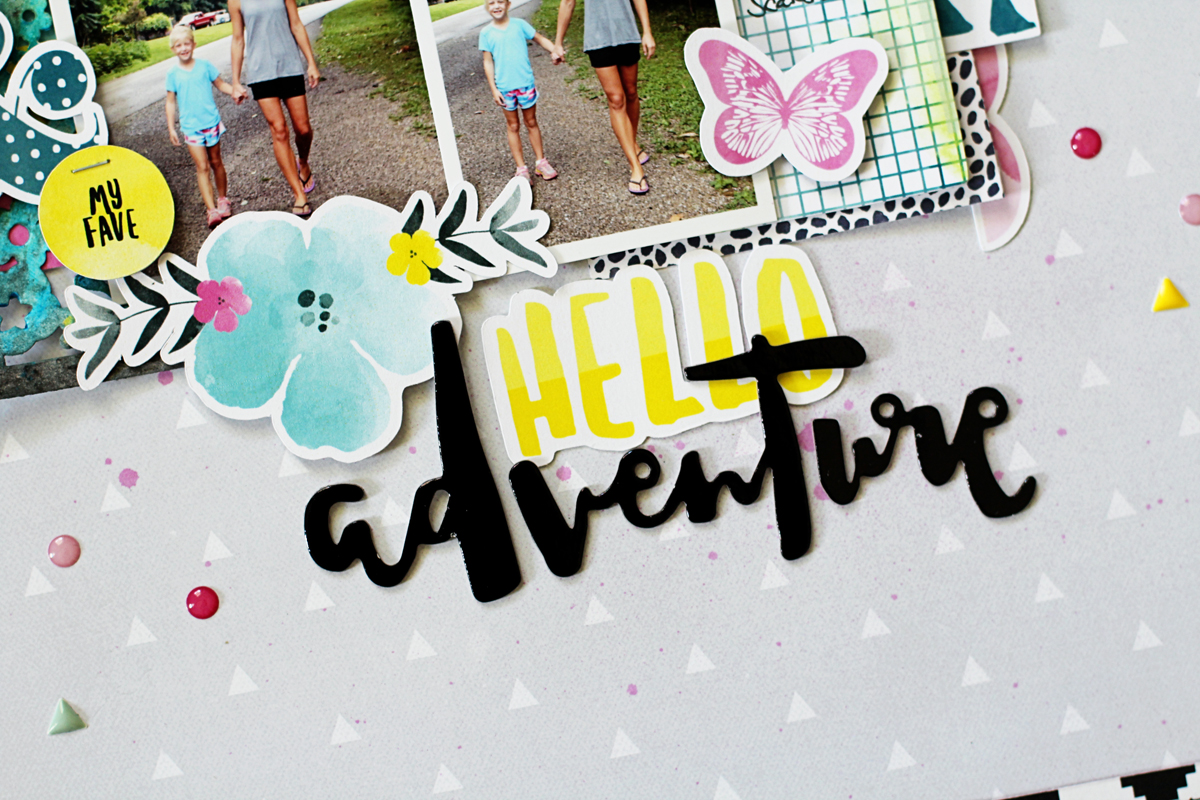
Another tried and true layering tip that I like to utilize is to overlap the words in my title like I did in the photo below. I used the ephemera "hello" piece and placed the "adventure" phrase from the Dear Lizzy Saturday Hello Thickers sheet (available in the August 2016 Main Kit) and overlapped it slightly on top of the "hello" piece. I also placed several of the My Mind's Eye Hooray enamel dots from the August 2016 Project Life Kit and the Crate Paper Cute Girl small embellishment pack enamel dots around my page, creating yet another layer of color and dimension.
helloadventure4

Ok, so let's review everything we've learned about layers!
  1. Use items such as spray ink, machine stitching, and embellishments to layer instead of just paper.
  2. Don't be afraid to overlap your photos and titles!
  3. Use foam adhesive to lift up certain pieces on your page.
  4. Don't be afraid to cover ephemera and die cut bits up using other embellishments.
  5. Have fun and make sure you like the placement of something before you adhere it to your page!
Well I hope I've given you lots of information on layering and some inspiration on how to use your August 2016 Hip Kits! Thanks so much for joining me today!

6.22.2016

Keepin' Cool *Hip Kit Club*

Hi everyone! 

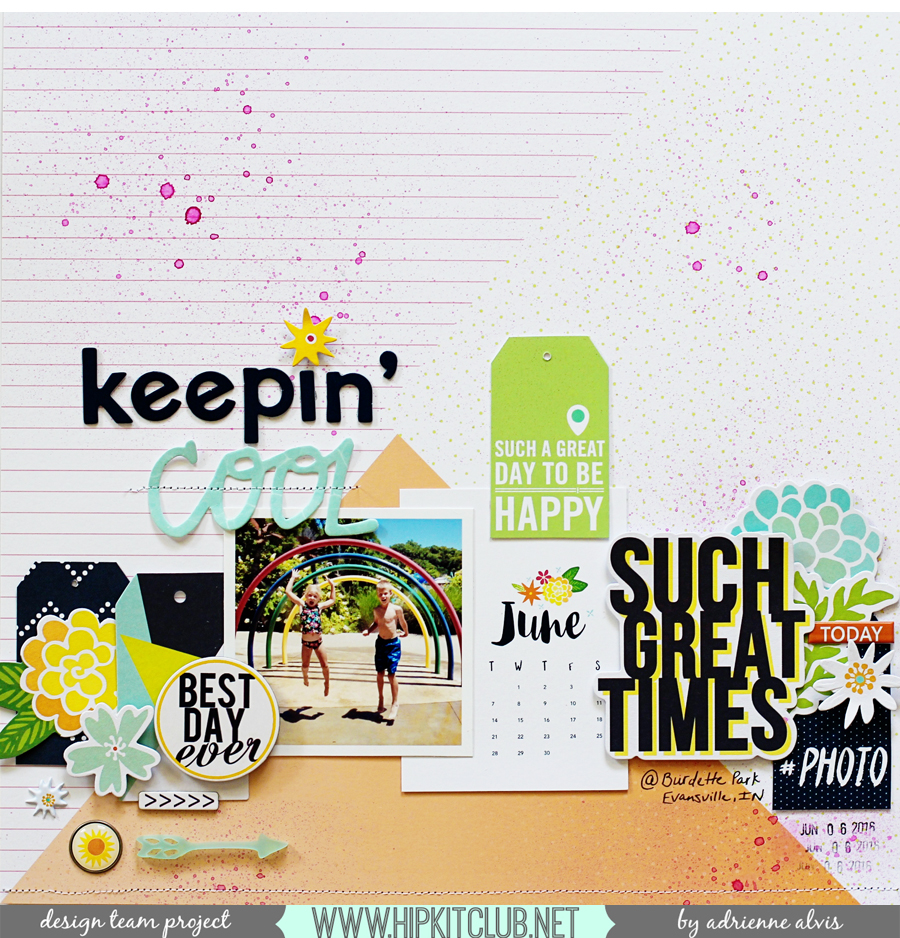
I shared a really super simple and quick way to add a few tags to a layout on the Hip Kit Club blog yesterday. I used the June 2016 Hip Kits for this page and I really love how the fresh summer vibe and colors in this month's kit look with the photo of my two youngest kiddos having a blast at a local splash park.

keepincool1

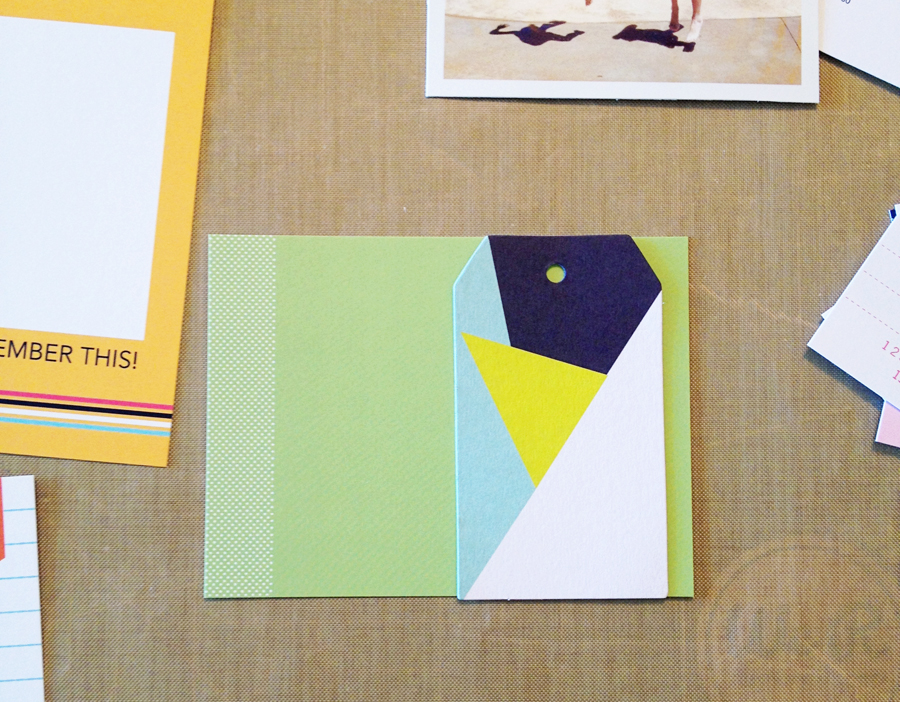
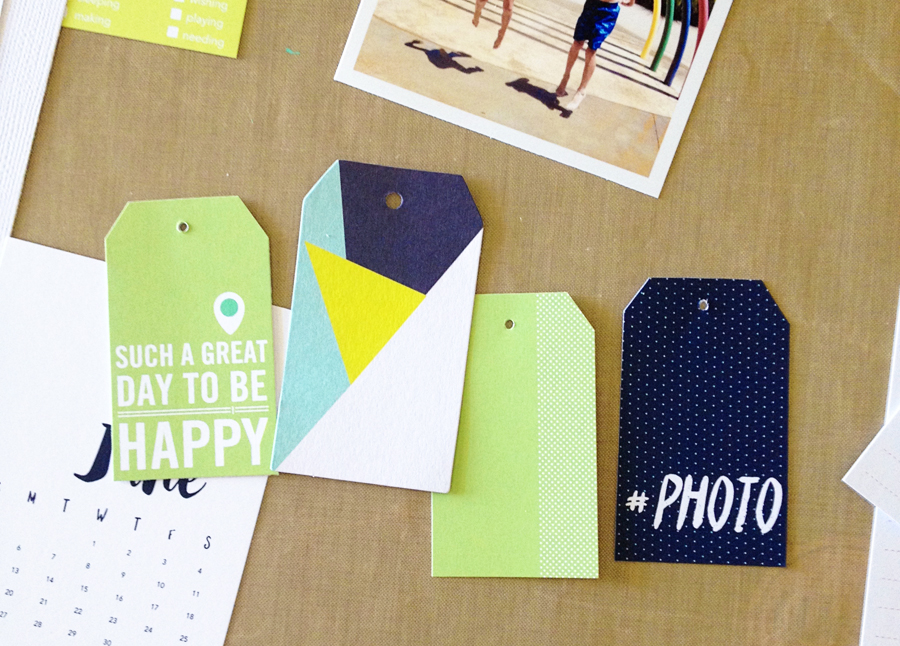
I grabbed the geometric tag from the HKC exclusive Everyday ephemera pack (available in the June 2016 Main Kit) and a couple of coordinating PL cards from the June 2016 Project Life Kit and positioned the geometric tag on top of where I wanted to create a new tag, using it as a template.

keepincool2

I placed the original tag over the sentiment or design I wanted to use from the PL cards and simply hand cut around it to create a new tag. I also used a very small hole punch to create holes at the top of the new tags and in just a couple of minutes I had enough tags to use on my layout.

keepincool3

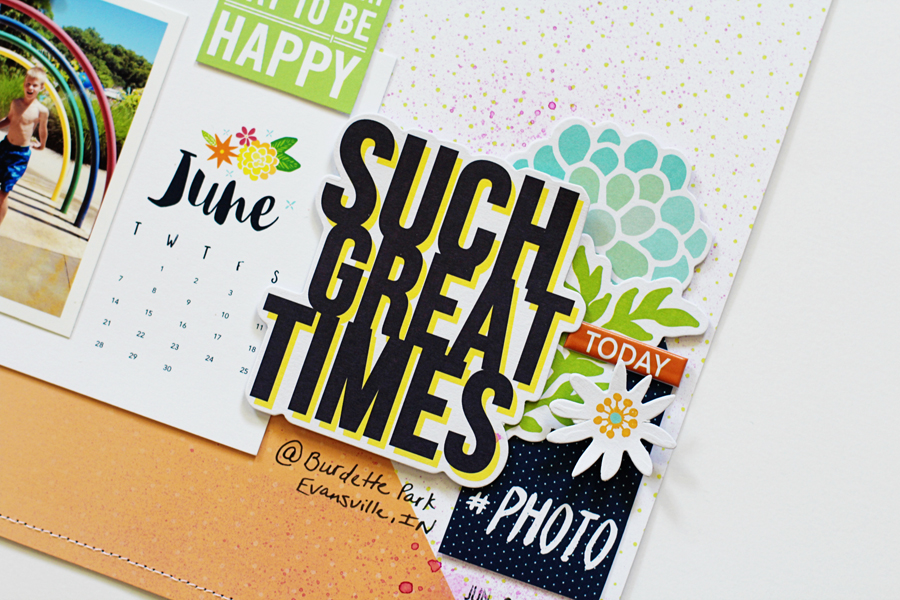
I layered one of the tags over the June calendar PL card and another under the "Such Great Times" sentiment ephemera piece on the right side of my page. I also placed an Everyday puffy sticker from the June 2016 Embellishment Kit and a few more ephemera pieces around the tag making an easy embellishment cluster.

keepincool5

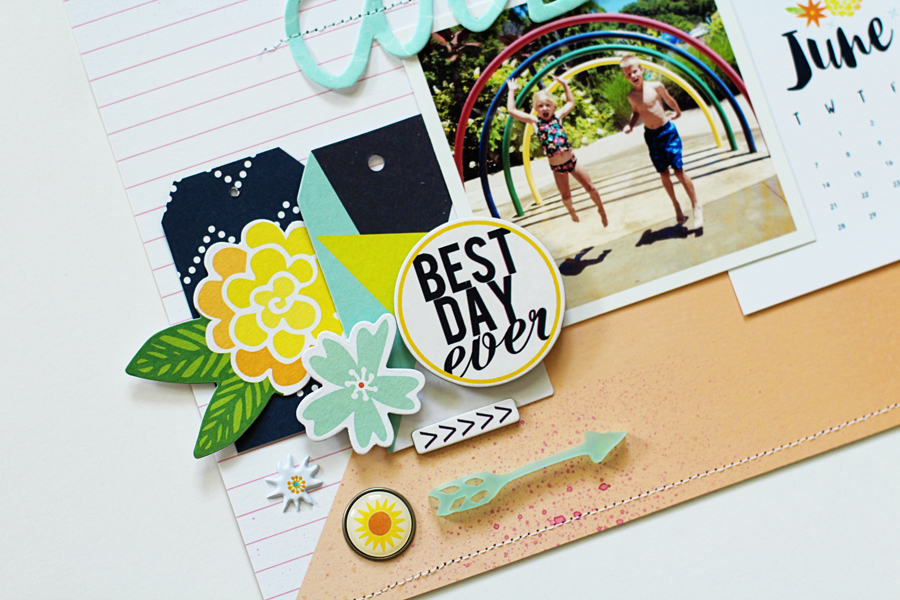
I added the original geometric tag that I used as my template along with another tag that I cut out from the lovely Jen Hadfield Everyday Dotted Chevron patterned paper, which is available in the June 2016 Paper Kit, and layered them together on the left side of my page to balance out my overall design.

keepincool4

I hope I've given you some inspiration on creating your own tags and using them for your next project. Sometimes if I'm in a hurry (or just being lazy) I like to cut things out quickly and easily by hand rather than set up my computer or Silhouette.

Thanks so much for joining me and have a wonderful day!


6.21.2016

Freckled Fawn and Tombow Team Up!

Hey everyone!

Freckled Fawn and Tombow have teamed up this week to give everyone a lesson in Adhesives 101!

I'm sharing how I used several different Tombow adhesives on these two layouts over on the Freckled Fawn blog. The Tombow adhesives made it super easy to attach even the most difficult FF embellishment so be sure and check out my full tutorial here.

Fave 


Let's Go


I used embellishments from various Freckled Fawn kits and Tombow adhesives for both of these pages. The Monotwin marker was also fun and easy to use and even writes on washi tape! Be sure and check out the FF blog and the Tombow blog for all kinds of inspiration and information you need to complete your next project!

Thanks so much for stopping by today!

4.27.2016

Enjoying Every Moment and a Project Life Card Tutorial *Hip Kit Club*

Hey everyone! 

I have a layout that I created using the April 2016 Hip Kit Club moodboard and the April 2016 Hip Kits to share with you today! 


The happy hues from this layout came from all of the gorgeous color inspiration from the April 2016 moodboard...


I used a yellow stamp marker to color in several of the sentiments on the Elle's Studio patterned paper and then layered a few embellishments from Shimelle and Pinkfresh Studio around the "Enjoying Every Moment" sentiment to create my title.


I placed the two photos of my daughter on top of a piece of the floral ampersand cut file created by Kim Watson and layered a few enamel dots around it to coordinate with the pops of coral and red from the moodboard. 


I used several of the acetate phrases from Pinkfresh Studio that are available in the April 2016 Main Kit  around the bottom half of my layout and added some other embellishments from the kits to create some depth and texture. 


I love how the colors pop off of my page and how well my daughter's shirt coordinates with the lovely striped patterned paper that is an HKC exclusive! 


Next up, I have a little tutorial on the Hip Kit Club blog on how I embellished some of the Project Life cards from the April 2016 Project Life Kit.


I utilized items from this month's Color Kit and embellishment kit as well as some of this month's cut files to jazz up some PL cards that I will be using on my April spread that will be on the Hip Kit Club Facebook page next Tuesday. 


You can see my full tutorial on how I embellished these cards HERE.


One more thing that I have to share with you today is the Hip Kit Club NSD Online Crop has been announced!!!!!


This will be hosted in our Facebook Member Forum so be sure and join us for and amazing weekend!  And if you're on the fence about joining Hip Kit Club, this will make it totally worth it so I hope to see you there! 

Have a wonderful day and thanks for dropping by! 


7.29.2015

Hello Lovely *Freckled Fawn*

Hello crafty friends,

I shared a sweet and simple tutorial on how I used the July "Silver Lining" Cut Files from Freckled Fawn on the blog last Friday...


I also used the July Ohdeerme Kit contents and a few others from my stash for this page.


You can see the full tutorial and more photos of this layout here.  Thanks for stopping by today!

6.15.2014

Where We Roam...

Happy Sunday, friends!

I created this ephemera pocket layout using the June Kits from Gossamer Blue to house some of our recent travel adventure photographs...


I simply created two vellum pockets on my 12x12 page and placed photos and journaling cards from our travels inside of them.


I added random bits and cute embellies from the kits alone the top of the pockets and added my title in the bottom left-hand corner of the page.


You can see how the entire page came together with a step-by-step tutorial on the Gossamer Blue blog.  

Have a great day and thanks for stopping by!

6.14.2014

June OHDEERME Kits

Hello!

This month's OHDEERME kit from Freckled Fawn is perfect for all of your summer scrapping projects!

Here are a couple of layouts and cards I created using June's kit (available here)...


Girl Time


Cheerful Card


Yay Card


Lil' Beauty


And here's a layout I created using some watercolors and the gorgeous clear alphas that are included in this month's kit...


My full post on how I created this layout is up over on the FF blog.

Thanks for stopping by and have a great day!

2.23.2014

Love This Girl

Hello and happy Sunday!

I created this layout using a quick and easy crayon resist technique that I shared on the Freckled Fawn blog earlier this week...


I also used embellishments from recent OHDEERME kits which you can shop for here.


I had this adorable photo of my daughter all snuggled up with her favorite stuffed animals and sporting a fluffy pair of wolf ears from our recent trip to the Great Wolf Lodge in Kansas City that I just couldn't resist scrapping.


To see how this page came together and for more information on how I used the crayon resist technique, head on over to the FF blog.

Have a great day and thanks for stopping by!