
Hello everyone!
I posted this layout on the Hip Kit Club blog yesterday sharing a few of my favorite tips and tricks on how to add layers to your pages. Luckily, there are so many great items in the August 2016 Hip Kits to make this process easier and a lot more fun, so let's get started!
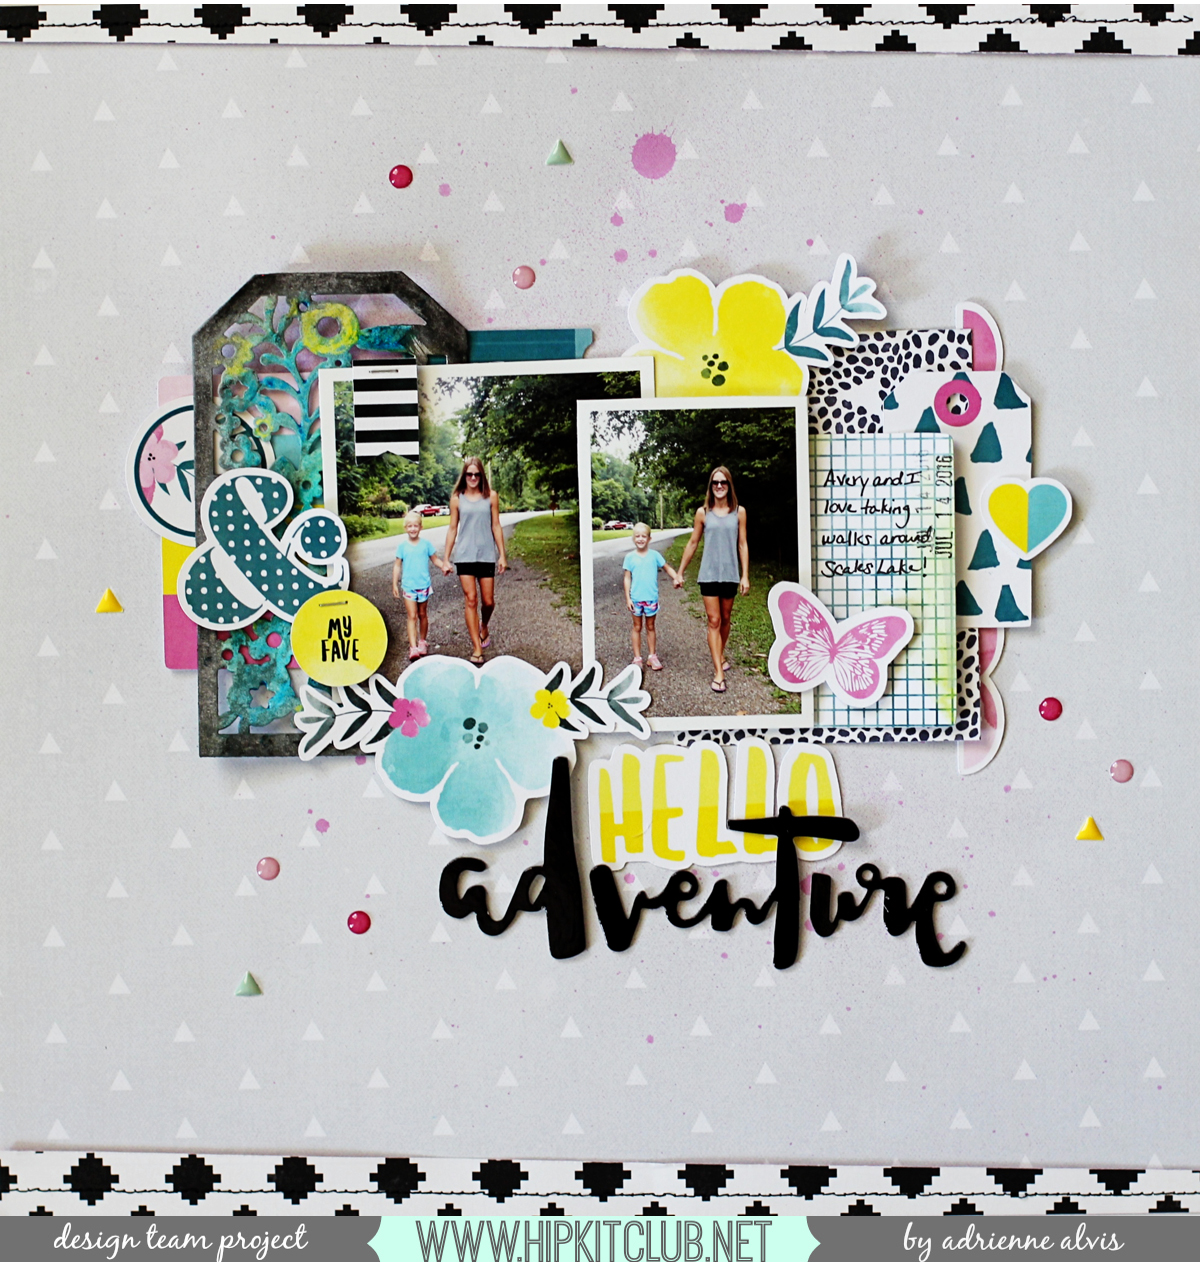
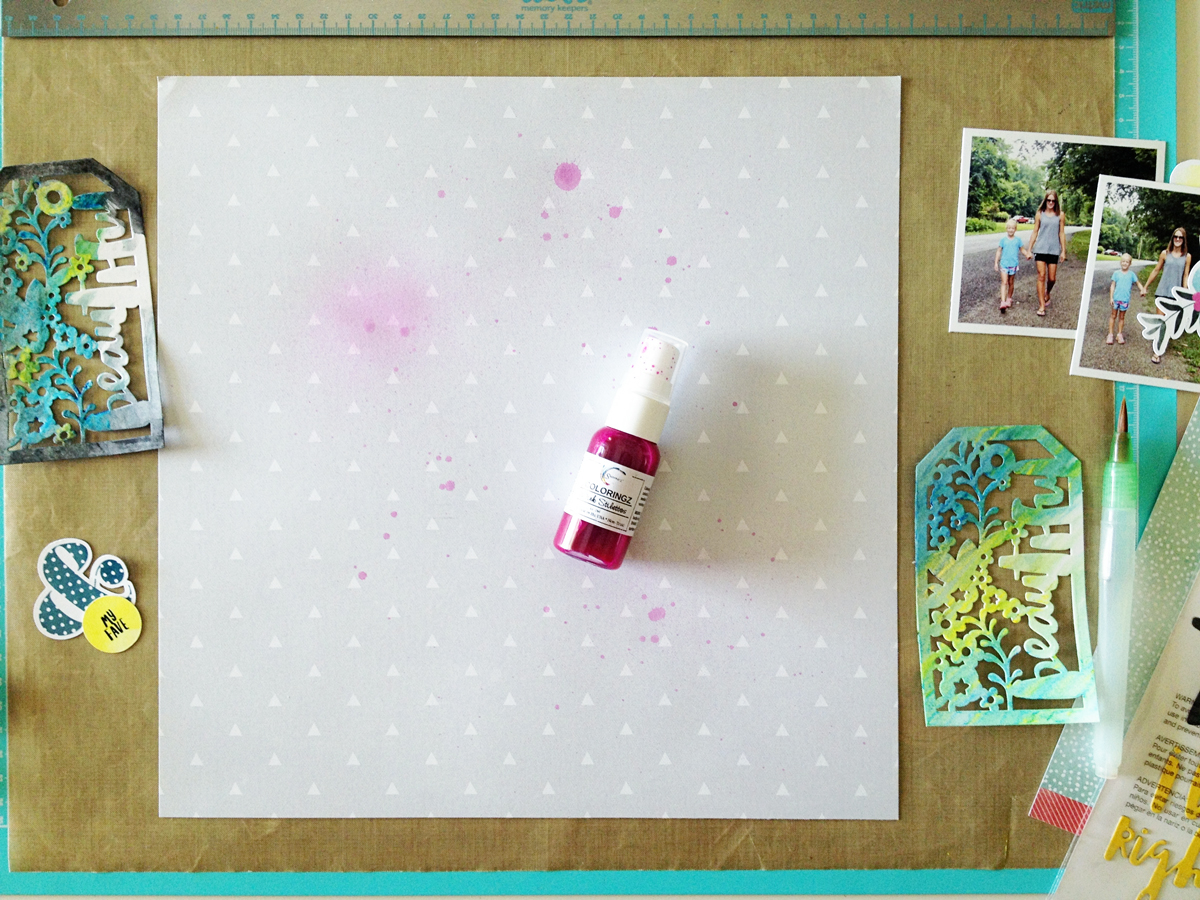
To begin with, you have to think about layers being more than just paper or ephemera pieces added to your page. When I create my pages, I mentally use a layer breakdown of color, patterned paper, photos, embellishments, and miscellaneous items such as machine stitching or paint. For this layout I gathered some of the items that I wanted to use and started by choosing some Coloringz spray ink in Pink Stiletto from Shimmerz (available in the June 2016 Color Kit) and lightly misted some of it onto the patterned paper that I chose to use for my background. So far that's already two layers that I've used from my list above!
Next, I used some of the Prima Oil Pastels and one of the die cut tags from Amy Tangerine (both available in the August 2016 Color Kit) to create a color coordinating embellishment for my page. I simply rubbed the oil pastels on the tag and then used my water brush to blend the colors. Once the die cut tag was dry, I placed it under the left photo on my page to see if I liked it's placement, which brings me to my next layering tip...don't be afraid to layer photos on top of each other like I did on this page. I printed my photos off at 3x3 and 2x3 so the right one would fit nicely on top of the left one, covering up some of the white space in the photo. I mounted the right photo using some foam tape adhesive which is a great way to add even more dimension to your page and create an extra layer.
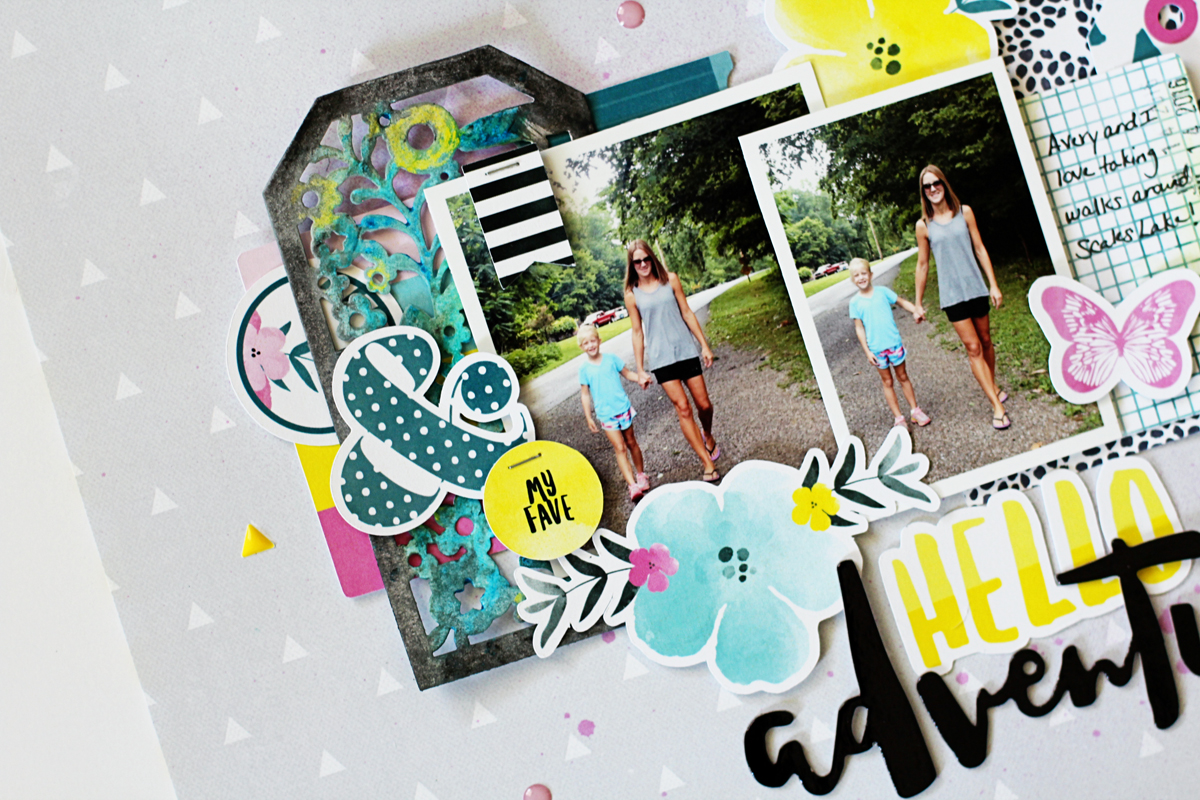
After I committed to my photo placement, I started choosing ephemera pieces from the HKC exclusive ephemera pack, available in the August 2016 Embellishment Kit and started tucking them under, around, and on top of my photos. I also used dimensional foam adhesive for many of these ephemera bits as well because I love how it helps add some extra depth and dimension (just make sure you like the placement of something before you commit to adhering it down!). I also cut a piece of the American Crafts Saturday collection patterned paper from the August 2016 Paper Kit at 3x4 and slipped it under the photo on the right to add even more color contrast to my page and thus creating another layer.

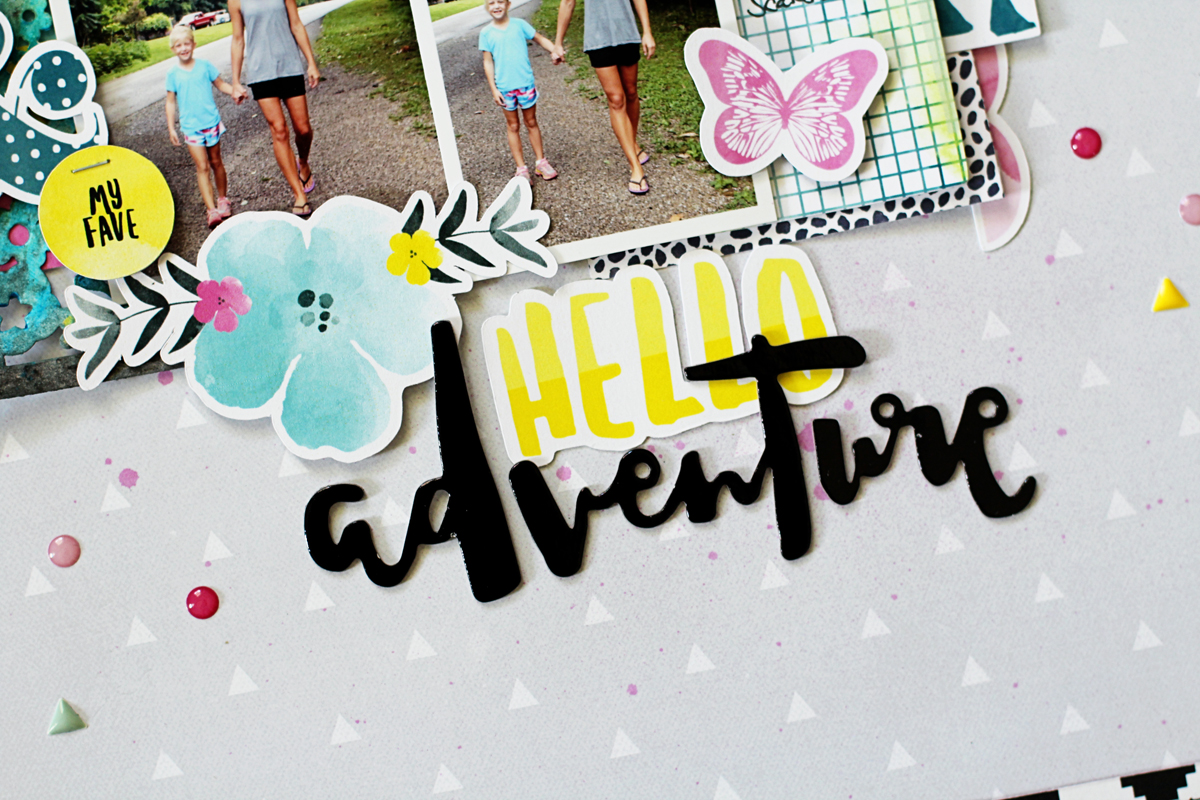
Another tried and true layering tip that I like to utilize is to overlap the words in my title like I did in the photo below. I used the ephemera "hello" piece and placed the "adventure" phrase from the Dear Lizzy Saturday Hello Thickers sheet (available in the August 2016 Main Kit) and overlapped it slightly on top of the "hello" piece. I also placed several of the My Mind's Eye Hooray enamel dots from the August 2016 Project Life Kit and the Crate Paper Cute Girl small embellishment pack enamel dots around my page, creating yet another layer of color and dimension.
Ok, so let's review everything we've learned about layers!
- Use items such as spray ink, machine stitching, and embellishments to layer instead of just paper.
- Don't be afraid to overlap your photos and titles!
- Use foam adhesive to lift up certain pieces on your page.
- Don't be afraid to cover ephemera and die cut bits up using other embellishments.
- Have fun and make sure you like the placement of something before you adhere it to your page!
Well I hope I've given you lots of information on layering and some inspiration on how to use your August 2016 Hip Kits! Thanks so much for joining me today!
No comments:
Post a Comment